Self-host your photos with Immich
Most photo libraries live in Google Photos or iCloud, and for most people that's the right answer. It works, it syncs, it's convenient.
But maybe you'd rather keep your photos in your own hands. Because you want to know exactly where they are, because the monthly fee for your own memories started to feel odd, or simply because you like running your own things. These days there's a genuinely good way to do that: Immich.
What Immich is
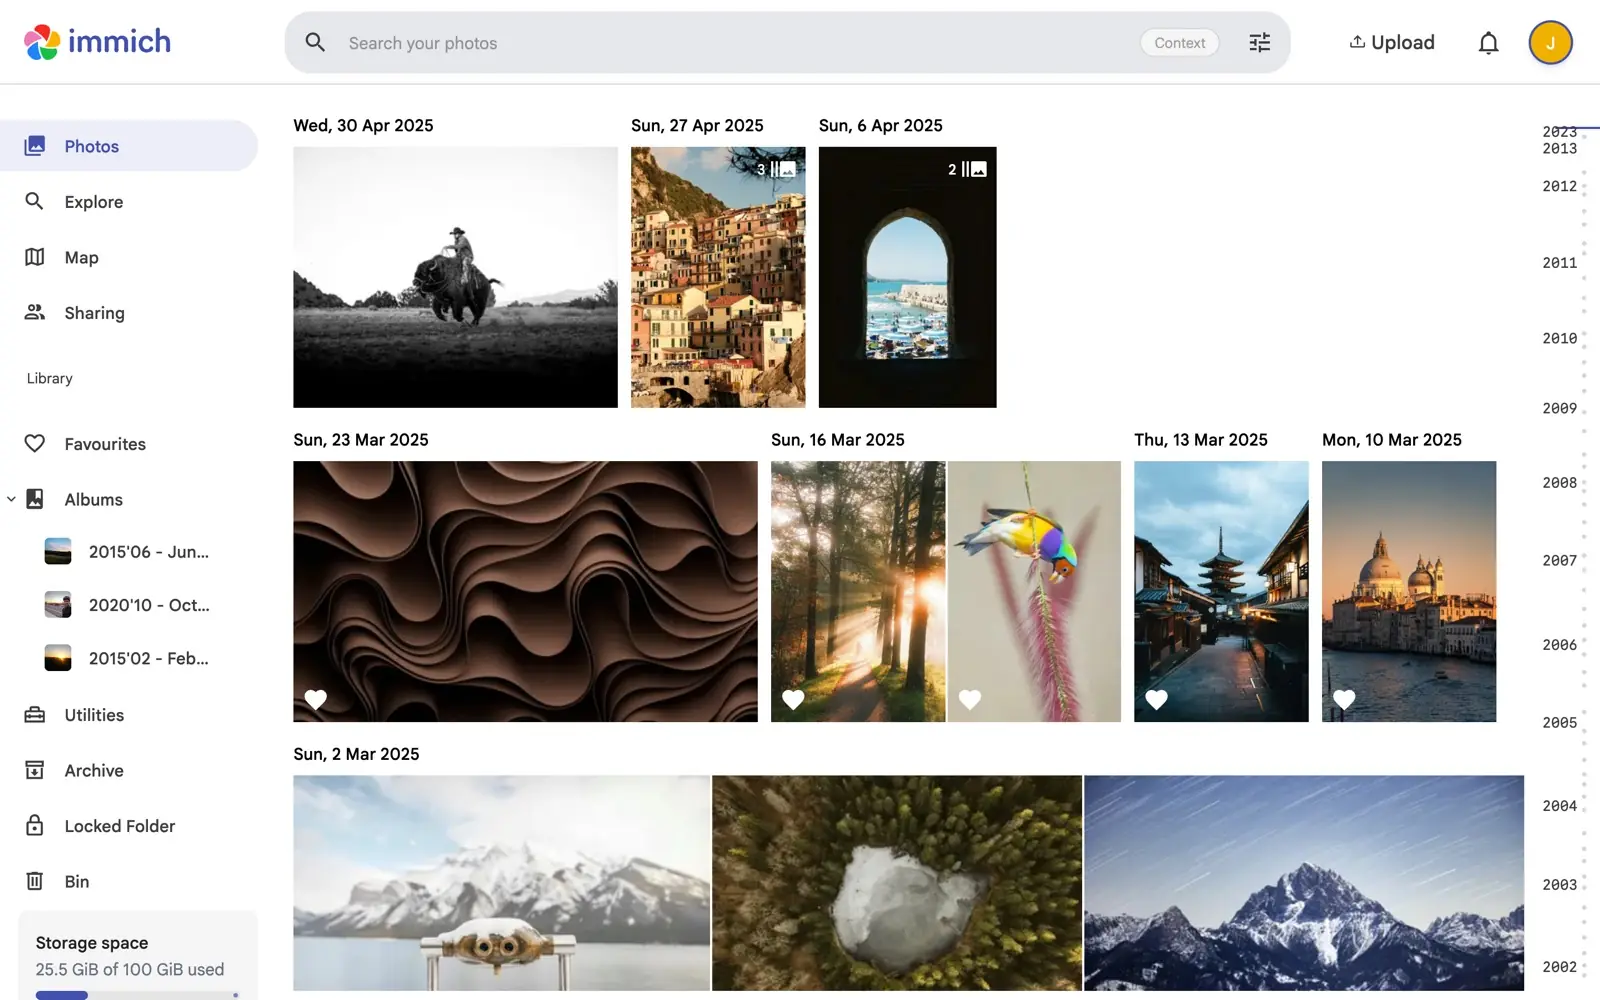
Immich is free, open source software that gives you your own photo app. A timeline, albums, search, face recognition, sharing, and automatic backup from your phone. It looks and works like Google Photos, with one difference: it runs on a server that's yours. And it's past the hobby stage: Immich has shipped stable releases since version 2.0, with steady updates ever since.
What you need
A server sounds heavy, but you rent one the way you rent storage: a small monthly fee, cancel any time. Hosting companies call it a VPS.
Get one from a provider in a country you're comfortable with. In the Netherlands, Theory7 hosts on its own hardware in Dutch datacenters, so your photos stay in the EU. In the US, DigitalOcean is the familiar name.
Pick one with at least 6 GB of memory and two cores (8 GB and four run it comfortably), plus more disk than your photo library needs, since Immich adds 10 to 20% for thumbnails. Starting small is fine; resizing later is a button, not a move. If the order form asks for an operating system, pick Ubuntu.
The easy route: an AI installs it
You can do all of this by hand, but the fastest route is to let an AI do the typing. Gemini CLI is Google's open source AI agent for the terminal. It's free with a normal Google account, it asks your okay before every command it runs, and when something fails it reads the error and works out the fix. That last part is what turns a fiddly install into a short one.
To make that as simple as possible, we put the setup into one small open-source script. It installs Gemini CLI on your server and briefs it with the official install method, so all you do is run one line and then approve each step. Open a terminal on your server (the console button in your provider's dashboard, or over SSH) and paste:
curl -fsSL https://raw.githubusercontent.com/nternet-company/immich-quickstart/main/install.sh | bash
It's free to use, and the code is on GitHub if you'd like to read exactly what it does first.
Prefer to run the pieces yourself? The script does three things you can type by hand. The first two install Node.js, which Gemini CLI runs on; the third installs Gemini CLI itself.
curl -fsSL https://deb.nodesource.com/setup_22.x | sudo bash -
sudo apt-get install -y nodejs
sudo npm install -g @google/gemini-cli
Then start it:
gemini
Either way, on the first run it asks how you'd like to sign in: choose Sign in with Google. A server has no browser, so it shows you a link instead. Open it on your phone, sign in with your Google account, and paste the code you get back into the terminal. That's the whole setup. If you started it by hand, now tell it what you want, in plain words:
Install Immich on this server. Follow the official guide at docs.immich.app, use Docker Compose, and when it's done tell me the address to open in my browser.
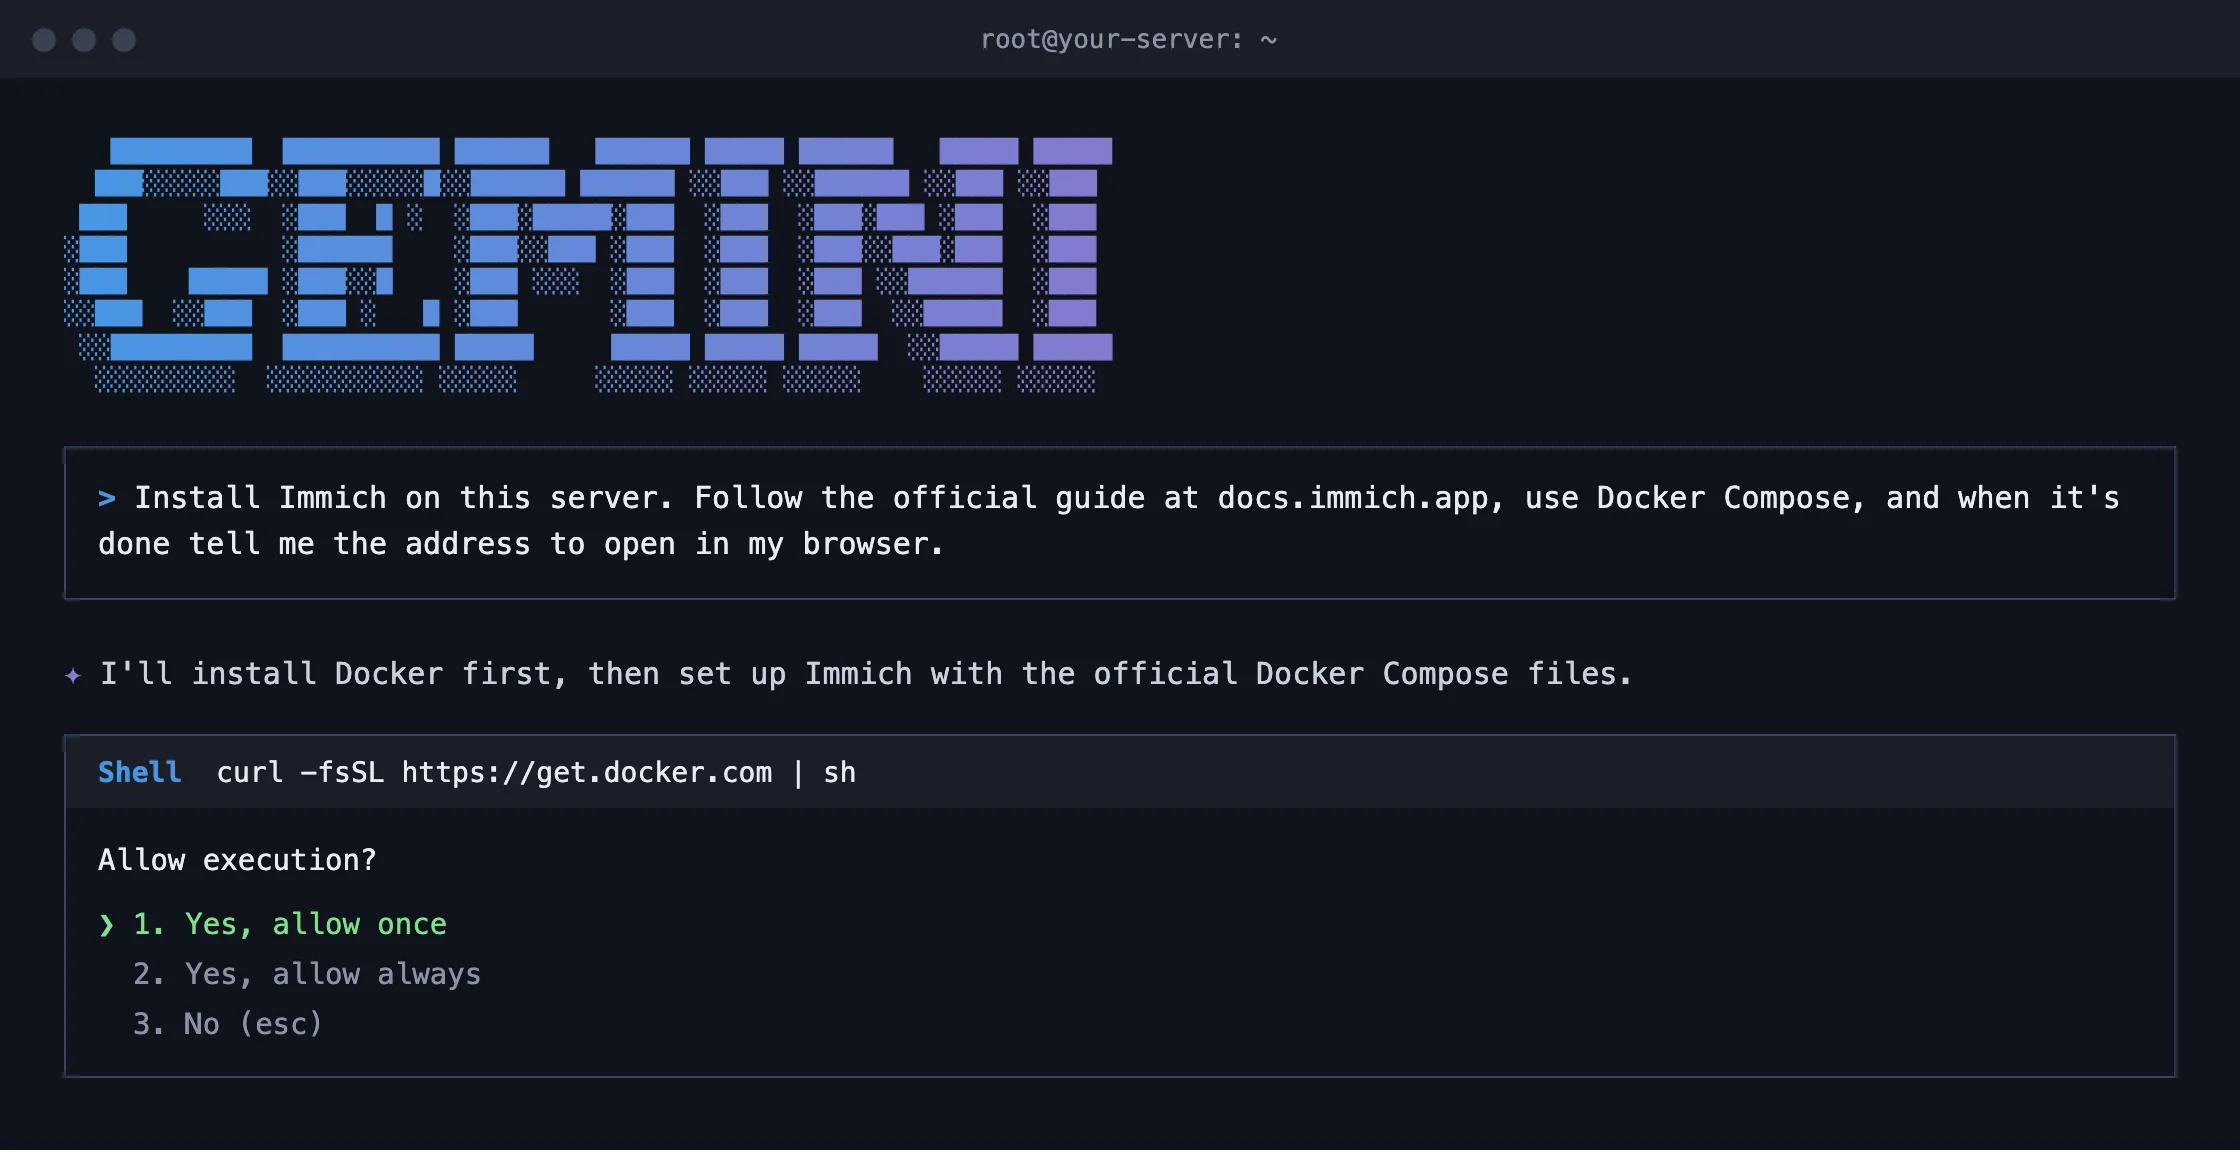
It installs Docker, fetches Immich's official Docker Compose files, and works through the steps, asking your approval for each command. Approve, watch, and a few minutes later it hands you an address like http://your-server-address:2283. If something goes wrong along the way, it reads the error and tries another route. That's exactly why this beats copying commands from a blog post. The free tier is 1,000 model calls a day; this whole job uses a fraction of that.
And Gemini CLI stays on your server afterwards. Whenever you're unsure about something later, ask it in your own words: type gemini and ask away, from “how do I add someone?” to “is my backup working?”.
First login, then your phone
Open the address in your browser. The first account you create automatically becomes the admin account, and from then on this is your front door:
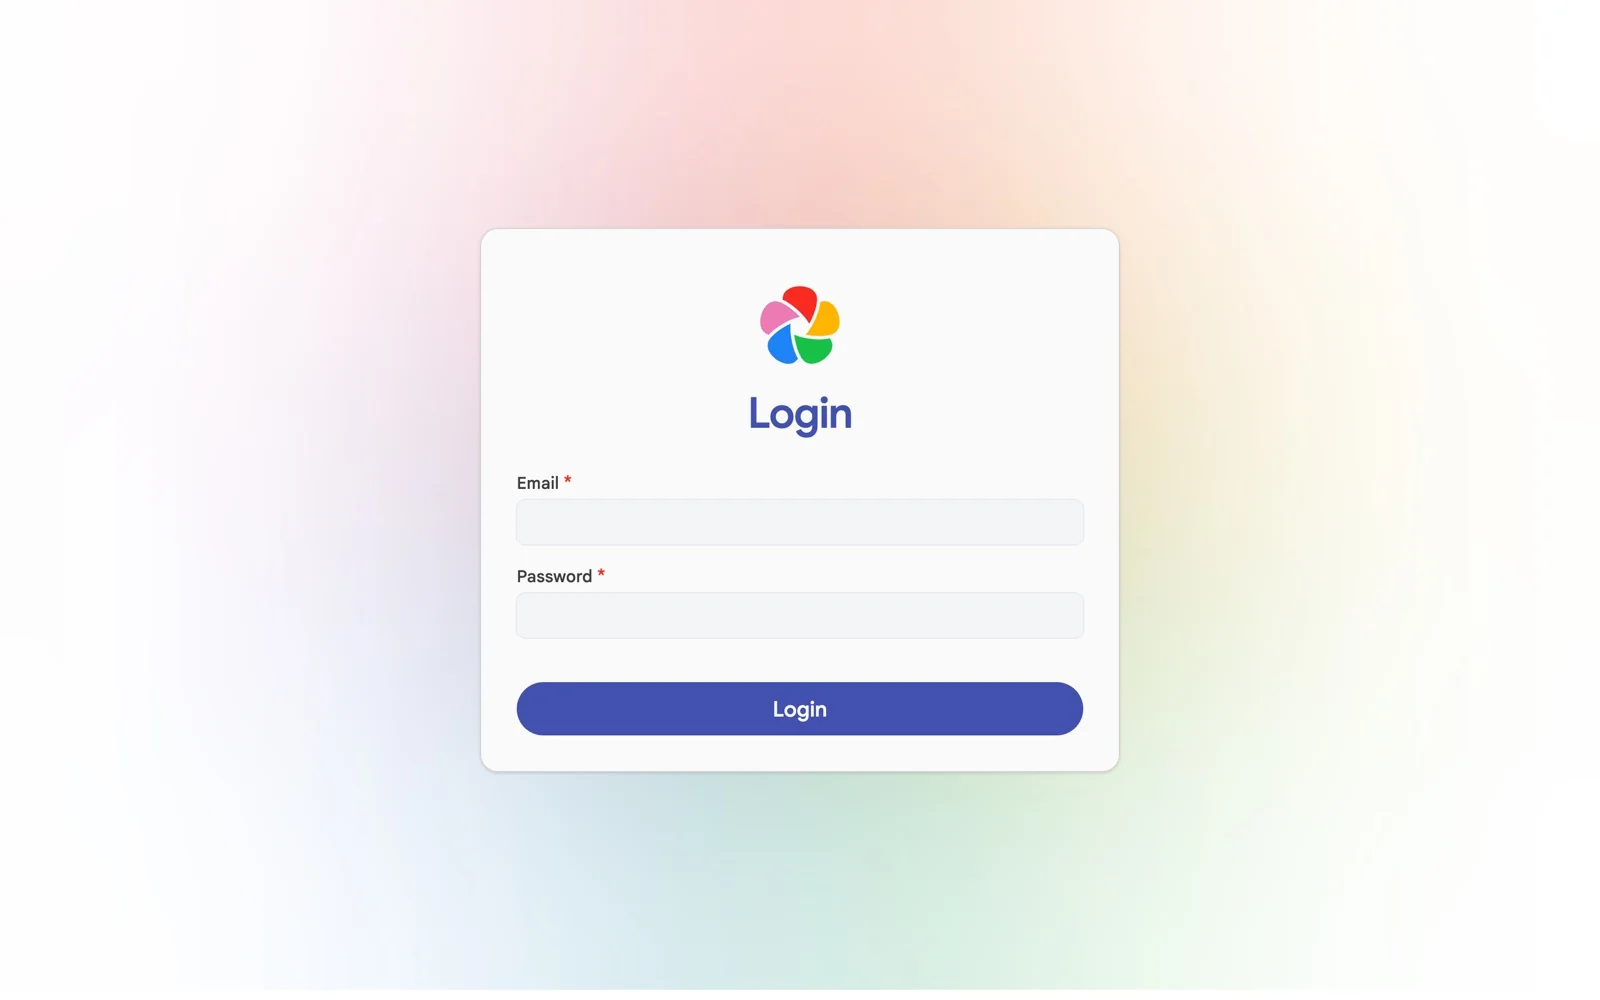
Then make it real: install the Immich app from the App Store or Google Play, point it at your address, log in and switch on backup. From now on your camera roll flows to your own server.
The manual route, for full control
Rather know exactly what lands on your machine? Immich's official install is a handful of commands. Install Docker:
curl -fsSL https://get.docker.com | sh
Fetch Immich's files:
mkdir immich-app && cd immich-app
wget -O docker-compose.yml https://github.com/immich-app/immich/releases/latest/download/docker-compose.yml
wget -O .env https://github.com/immich-app/immich/releases/latest/download/example.env
Open .env (nano .env) and do yourself two favours: set your own DB_PASSWORD and point UPLOAD_LOCATION at the place your photos should live. Then start it:
docker compose up -d
Same result: your server, port 2283, first account is the admin.
The upkeep
Your own server comes with two habits. Update once in a while: from the immich-app folder, run docker compose pull and then docker compose up -d. Or simply ask Gemini CLI. And keep a second copy of your photos somewhere else, because one copy is never a backup. Immich's docs recommend the classic 3-2-1 approach and explain what to copy. If that sounds like a satisfying hobby, it is one. If it sounds like homework, iCloud and Google Photos are perfectly good homes.
The paper part
Wherever your photos live, the good ones deserve to leave the server now and then. When you want them as a printed book, bring them to foto foto: we pick the best ones and design the book for you.